Big Bend National Park sits inside the largest International Dark Sky Reserve on Earth. The skies overhead are roughly Bortle 1 — the darkest measurable category — which means a camera here can capture detail in the Milky Way that requires expensive equipment and post-processing wizardry to fake elsewhere. If you've never tried Milky Way photography, this is the place to start.
When the Milky Way Is Up
The galactic core — the bright, structured, photogenic part of the Milky Way — is visible from March through October, with the best window being April through August. In other months, the core is below the horizon during night hours.
Best time of night: depends on the month. In April-May, the core rises after midnight, so 2-4am is prime. By July-August, it's high in the sky by 10pm. After September, it sets earlier each night. A free app like Stellarium or PhotoPills will show you exactly when and where the core is at any moment.
Moon phase matters more than anything. Plan for nights within 3-4 days of the new moon. Even a half-moon washes out the core to a degree you'll regret. New moon, no moon, that's the rule.
Gear: The Bare Minimum
You can do Milky Way photography on essentially any modern camera with manual settings. The bar is lower than people think.
A camera with manual mode and RAW capture. Any mirrorless or DSLR from the last 10 years qualifies. Phone-only photography won't give you usable results except on the newest "Astro Mode" phones — which are now actually pretty good, see below.
A wide-angle lens at f/2.8 or wider. 14mm-24mm focal length is ideal. The wider and faster, the more sky you capture per exposure. A 24mm f/2.8 kit lens works fine. A 14mm f/1.8 is luxury.
A tripod. Non-negotiable. Even the lightest travel tripod is fine; you're not loading it heavily.
A remote shutter or a 2-second self-timer to avoid camera shake.
Spare batteries. Cold + long exposures = battery drain. Bring two; bring three.
The Basic Shot
Stardust nights are typically 50-60°F in spring/summer, comfortable for standing around. Here's the simplest workable settings recipe:
- ISO: 3200-6400
- Aperture: widest your lens allows (f/2.8 if it's a kit lens; f/1.8 if it's a fast prime)
- Shutter speed: 15-25 seconds. The "500 rule" says max exposure (seconds) = 500 / focal length (full-frame equivalent). At 20mm full-frame, that's 25s; at 24mm, 20s; at 35mm, 14s. Beyond that, stars start streaking.
- Focus: manual, set to infinity. Easiest way: use Live View on your camera, zoom into a bright star, rotate the focus ring until the star is the smallest pin-prick of light, then DON'T touch the focus ring for the rest of the night.
- Format: RAW. Even if you don't edit, RAW preserves your options.
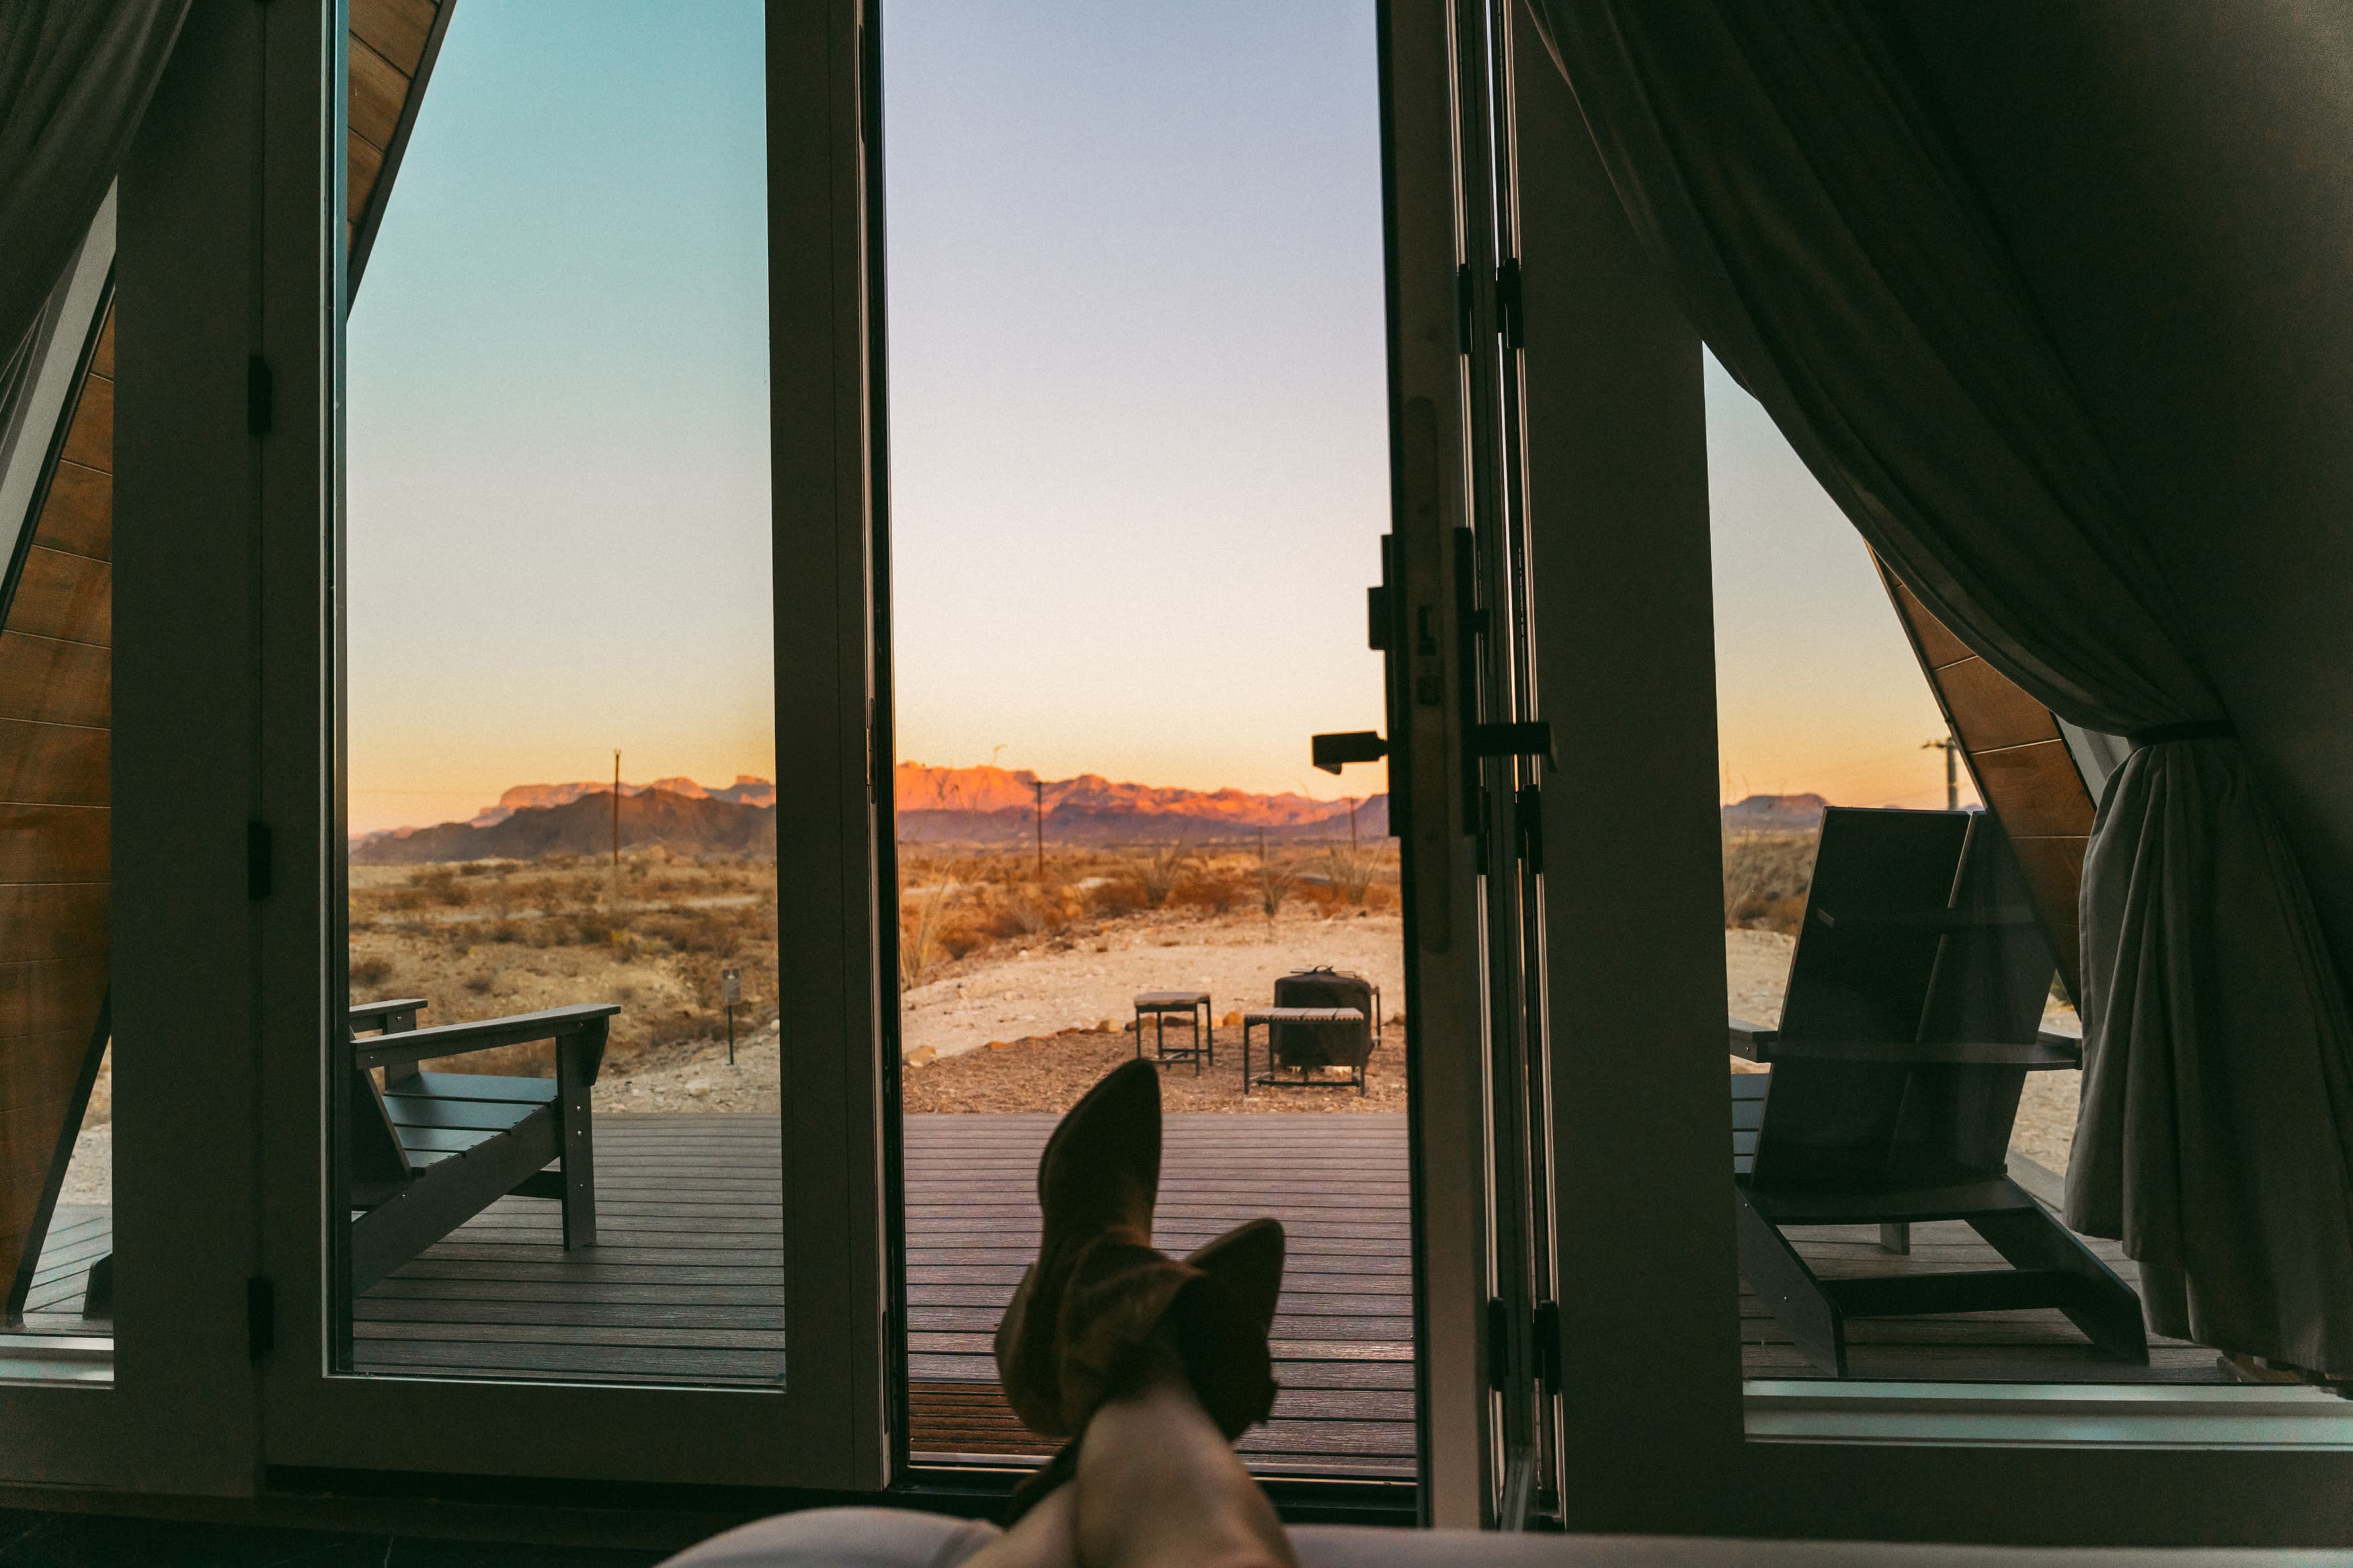
Compose with foreground interest. A bare Milky Way arc against black sky is pretty for one photo. A Milky Way arc above a cabin, an ocotillo silhouette, the Sierra del Carmen — those photos are memorable. The deck at your Stardust cabin pointed roughly south is a perfect foreground.
Phone Photography
Recent iPhones (Night Mode on iPhone 13+) and Pixels (Astro Mode on Pixel 4+) can capture surprisingly good Milky Way shots. You need a tripod or stable surface, and you need to be patient — the exposure builds over 3-4 minutes.
Phones won't match a dedicated camera, but they'll absolutely capture a milky-way-visible shot good enough to text your group chat. Try it before you assume you can't.
Where to Shoot
Inside Big Bend National Park, the classic Milky Way locations are:
- Sotol Vista on Ross Maxwell Scenic Drive
- The Window View for the Chisos Mountains silhouette
- Rio Grande Village for water reflections
- Sam Nail Ranch for the windmill against the sky
- Santa Elena Canyon parking lot if you're patient enough to wait there past sunset
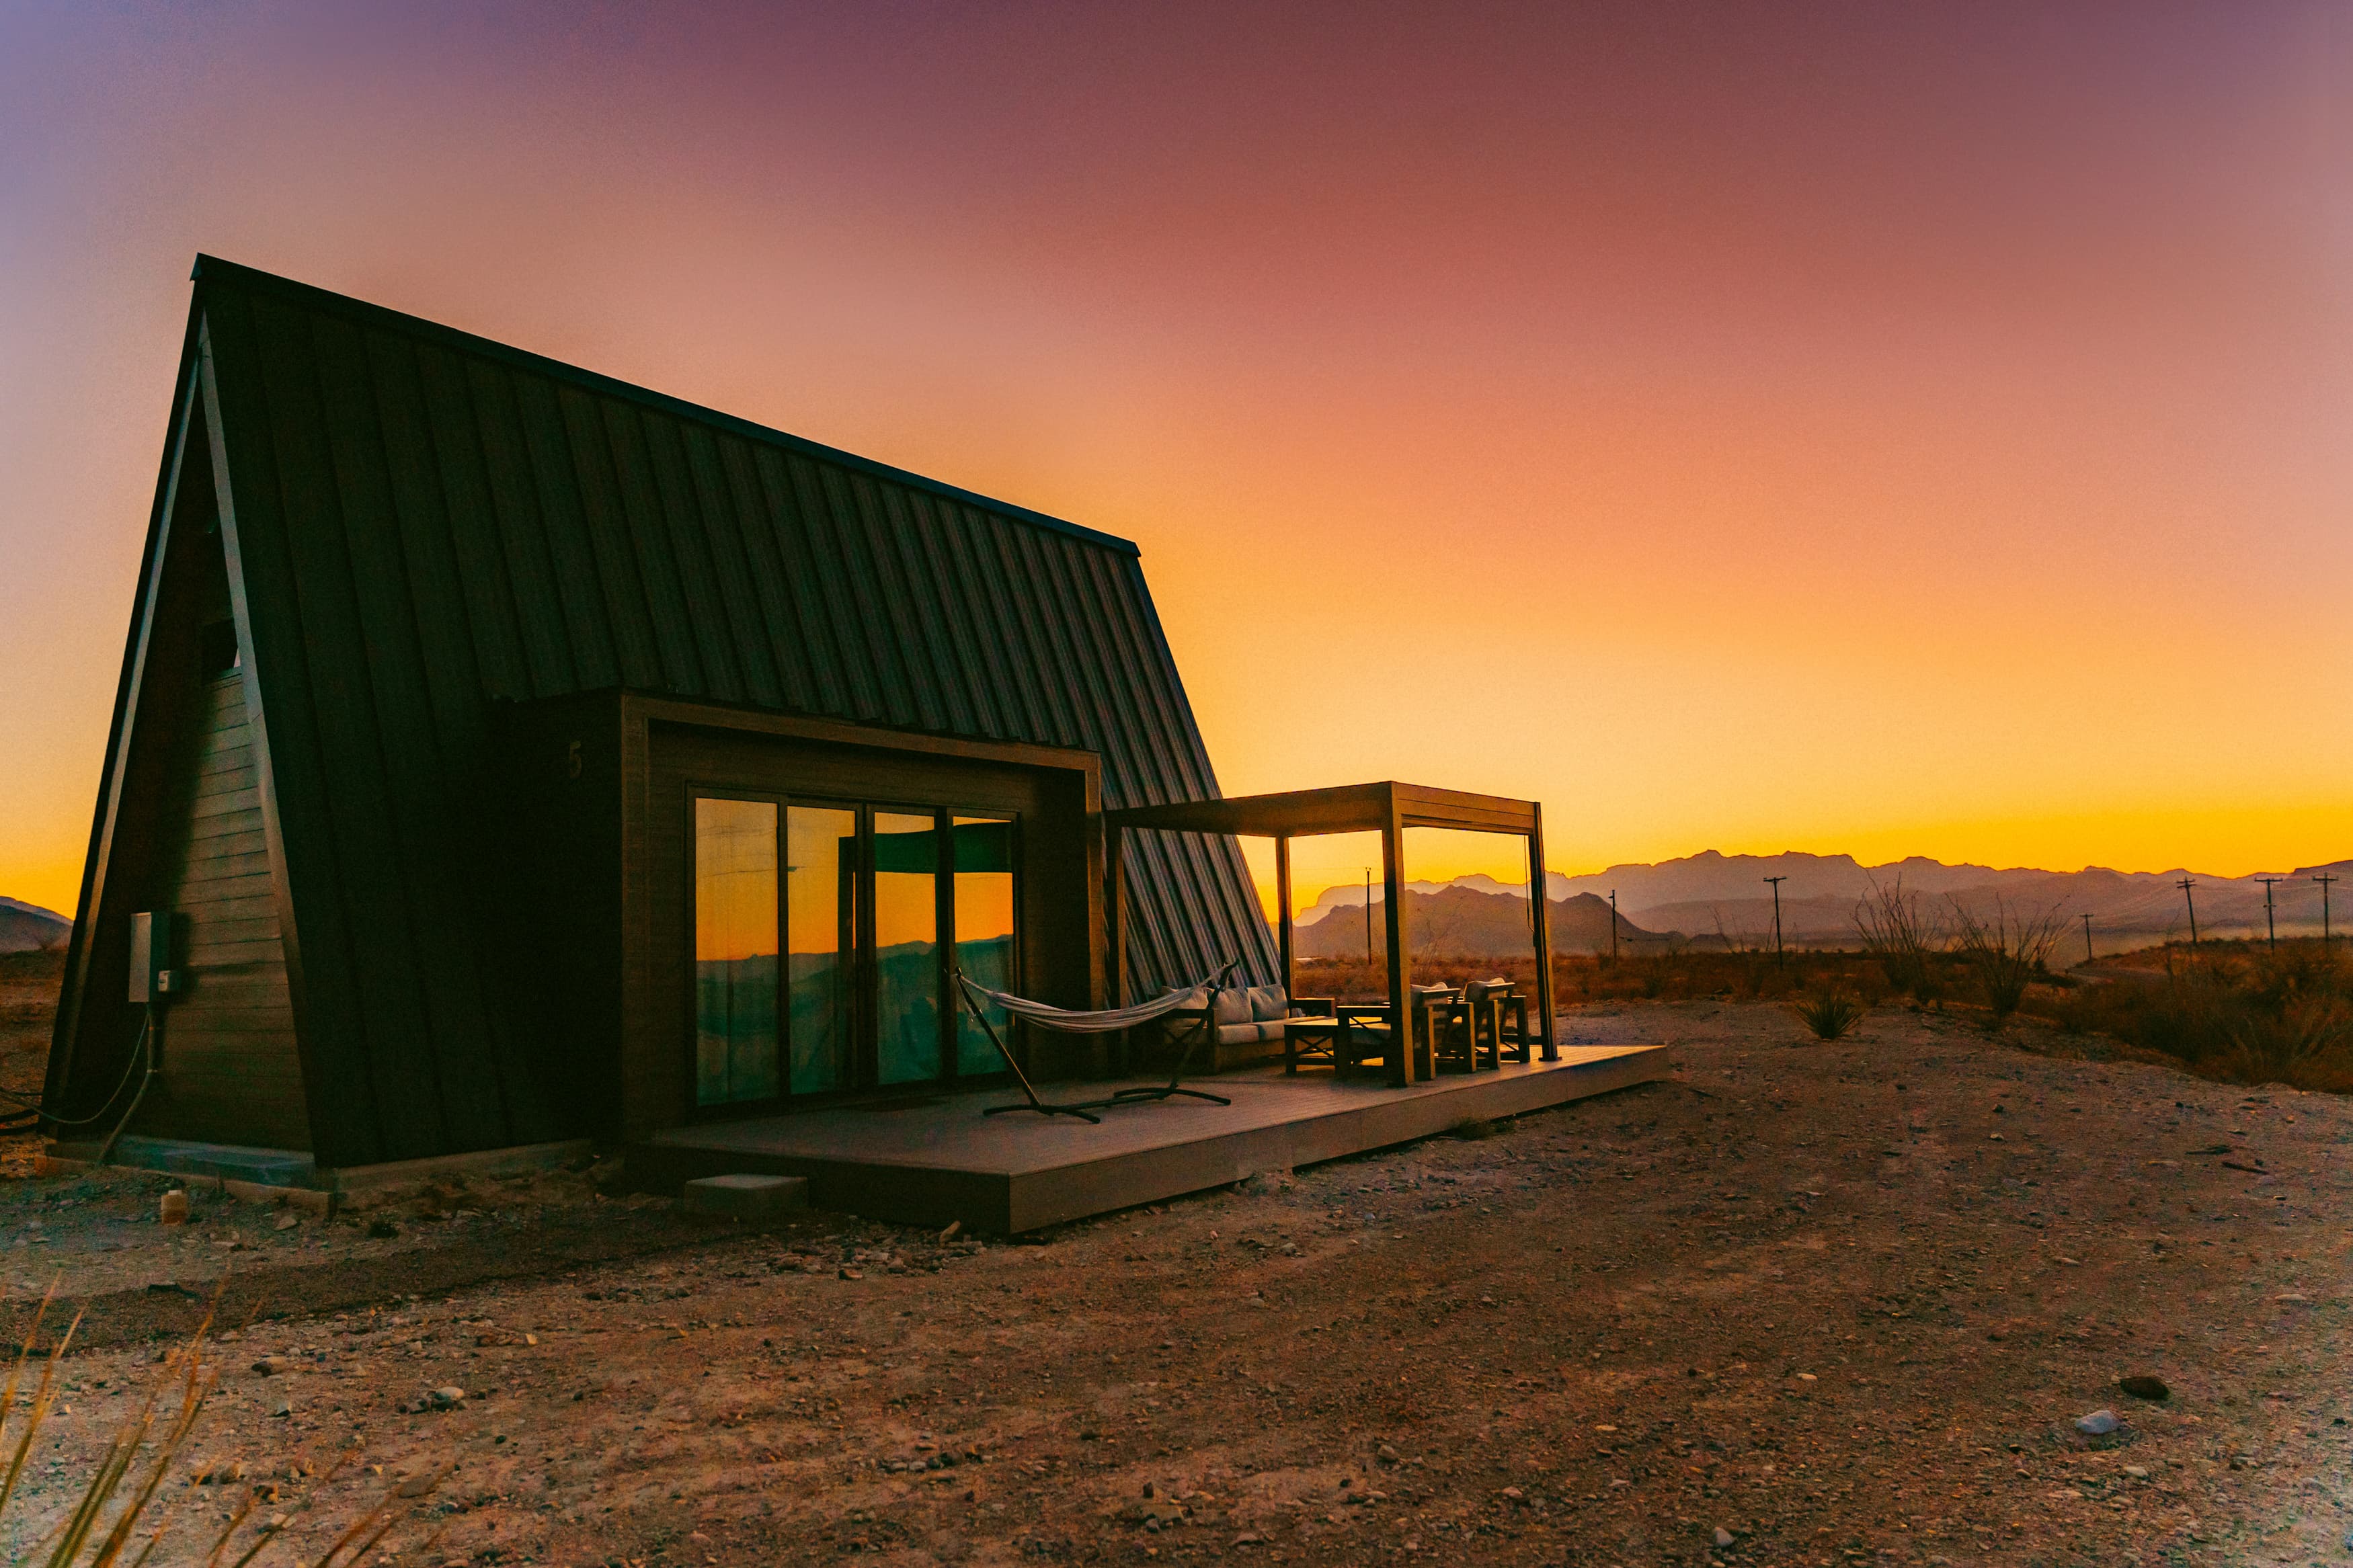
Outside the park, in the Terlingua-Lajitas area, the entire region is dark enough for excellent shots. The advantage of shooting from your Stardust cabin's deck is that you're outdoors with no headlamp-blasted hiker stomping through your composition, and you can run inside to grab a sweater between shots.
Post-Processing
Even a good RAW file looks flat straight out of the camera. The Milky Way core has more dynamic range than the camera captures in a single exposure. Even a simple Lightroom workflow (raise shadows, lower highlights, increase clarity, modest color temperature adjustment) brings out the structure dramatically.
A few advanced techniques — image stacking (multiple exposures combined to reduce noise), separate sky/foreground exposure blending — can produce stunning results, but they're optional and you can get great photos without them.
Practical Notes
- Pack layers. Even summer nights in West Texas can dip to 60°F at elevation.
- Bring water and snacks if you're shooting for hours.
- Red headlamps preserve dark adaptation. White lights blind everyone within 100 yards.
- Don't shine lights at other photographers' shots. Etiquette matters.
- Watch the weather. Clouds destroy any astro-photography session. Check forecasts the day of.
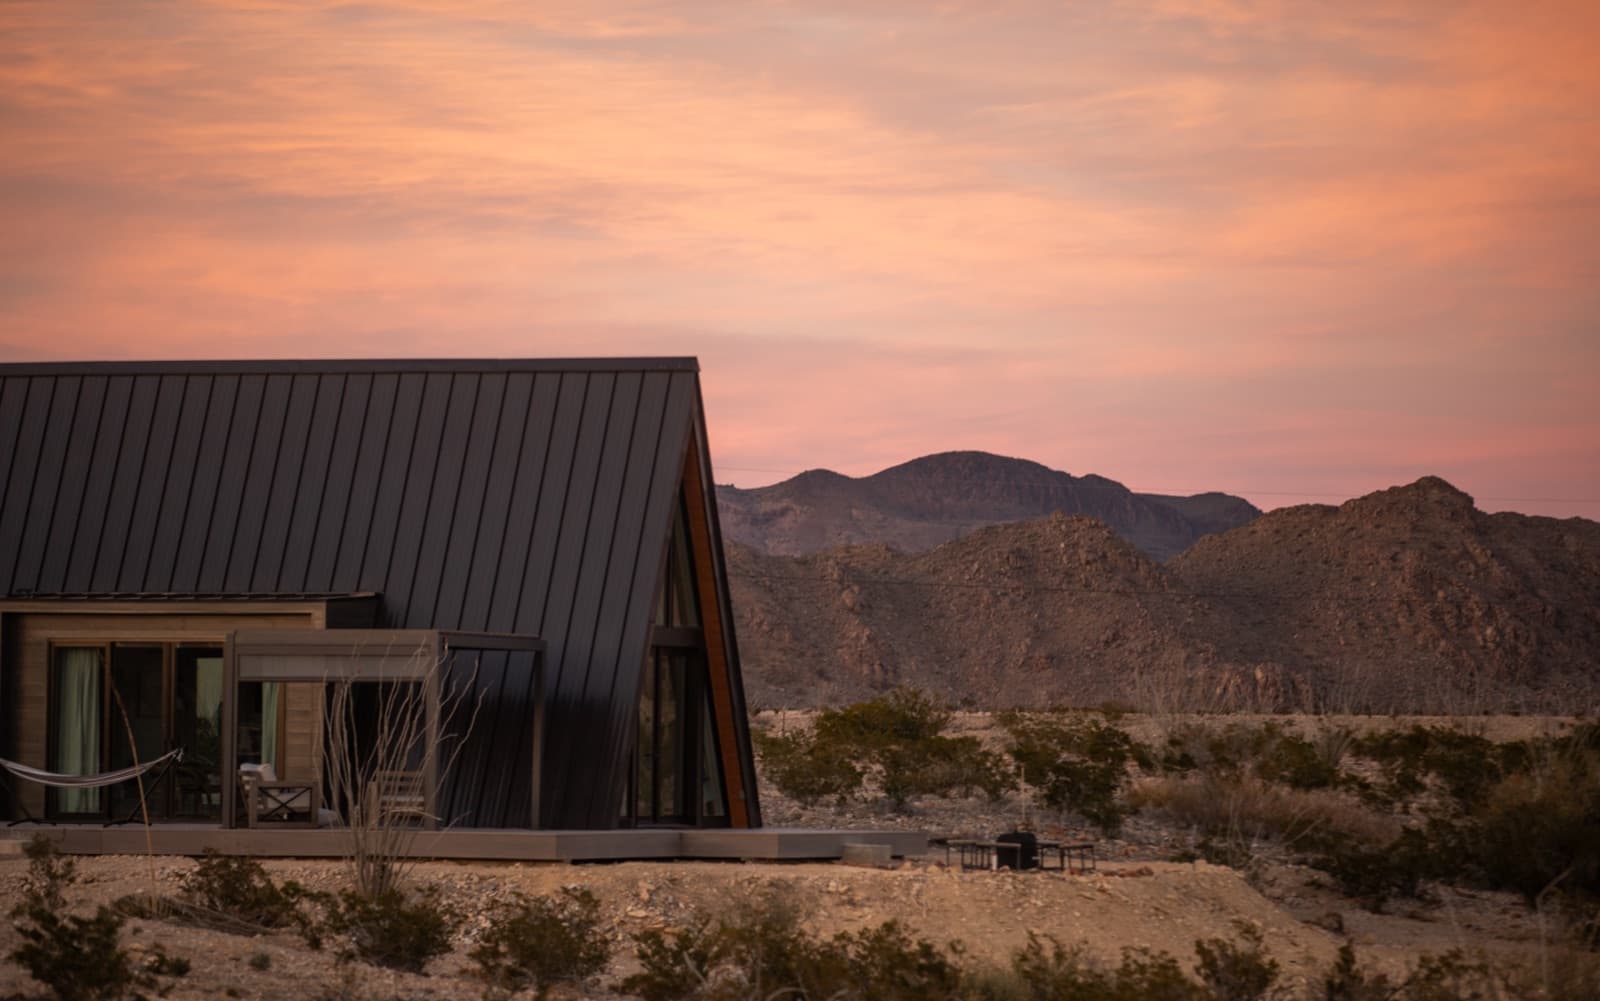
The Greater Big Bend International Dark Sky Reserve has a calendar of upcoming dark sky events. From Stardust Big Bend, our lodges' decks face the darkest sectors of the sky — it's some of the few dark-sky lodging near Big Bend where many guests do their best astro-photography without leaving the property. The stargazing guide covers the broader naked-eye experience for the rest of your group.